Good news - frame rail still dry spotless - in primer after 46 years
I opened the passenger side floor and found the passenger side frame rail is dry, hard to see in the light from the LED drop light and covered in grit from cutting open the floor I was plesed to see how clean and dry it is.
better shot of primer from inside of passenger floor pan that was the top of the frame rail
note I left the seat mount nut in place for the replacement passenger side floor
Dad's progress on DS rear floor undercoating removal - the red is primer not rust
When fliping the car over I heard something move, not good.
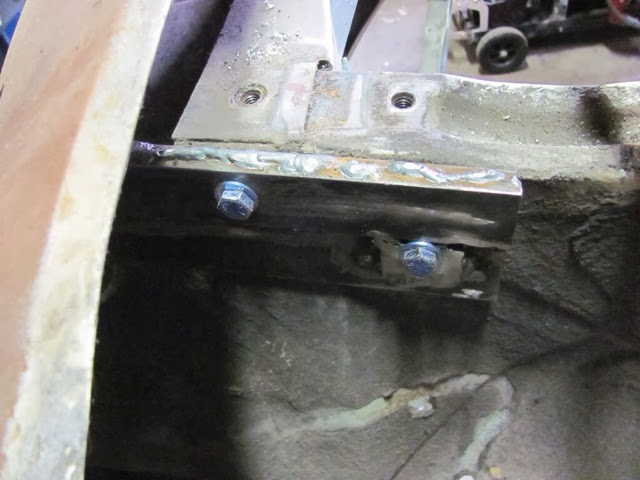
It seems the front brackets were shifting and contacting the upper body holes denting the metal opeings. The bolts were tight but obviously shifting within the bolt holes on the body.
So a quick survey turned up the front swaybar mounting points.
Using some of the scrap 3.5 wide 1/4 inch stock two plates were made to weld to the existing mounting brackets.
I used a thin strp of copper to seperate the welded area from welding the bracket to the car body prior to welding the plate to brackets.
Upgraded brackets now unable to shft and contact the upper body bumper bracket holes as they are supported by the plate under the frame and secured to the body via the front swaybar mounting points.
The rear mounts were still tight and nothing has shifthed.
passenger side A piller connection - lower inner rocker seperated
After dropping the driver side floor panel off at a sheet metal shop for re-bending of the rocker flange I finished drilling out the spot welds on the lower side of the passenger side inner rocker. Now just the top remains for both side.
Next I opened up where the passenger side A pillar meets the rocker panel assembly and noted the shapes for later fabrication.
upper floor pan (kick up area) of passenger side of car seperated from inner rocker
Drilling out the spot welds on the passenger side floor and rocker
Driver side "peddle box" hole in front wheel area
Hole in passenger side - under battery box - same spot as "peddle box area" so I suspect it is more related to water accumculation than battery acid as it is on both sides and about the same size.
Driver side floor removed - many spot welds drilled
Today's progress - driver side floor removed mostly by drilling out spot welds along transmission tunnel and frame rails.
The Harbor Freight spot weld cutter does a great job so long as it has a good centering punched hole. I have now started to sharpen the tip as it seems to be dulling with use. For the frame rails I drilled through the floor and cut from the inside as the welds were obscured by rust. Having a starter hole make the cutter easier to use - but it was mainly required as the cutter is short and the drill chuck interfered with getting a straight shot at a 90 degree angle on the welds because of the frame welds. I broke several 1/8 inch bits by drilling the holes out (part angle, part hard to drill through the welds). I have found that just using a good solid punch point is enough to keep the spring loaded tip centered - not worth the time to drill starter holes for most weld. Now if the area is not flat or against a cured part of the body then it can be helpful.
The floor pan will be replaced and the 3/8 holes used to plug weld the floor pan to the frame.
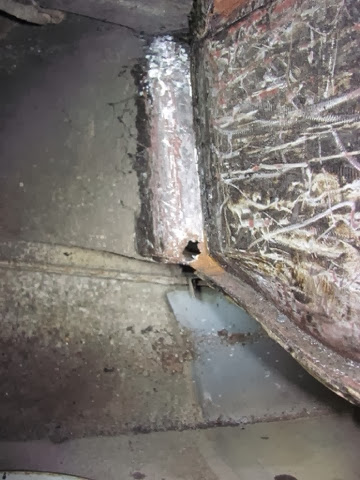
Also I found what had interested Maggie when removing the floor:
A cat might be a mouser but a dog will pin point where the nest is...
mouse nest in frame rail - mice got access to area through hole in floor pan - I have not stored bird seed in the garage for years so likely long gone by now.
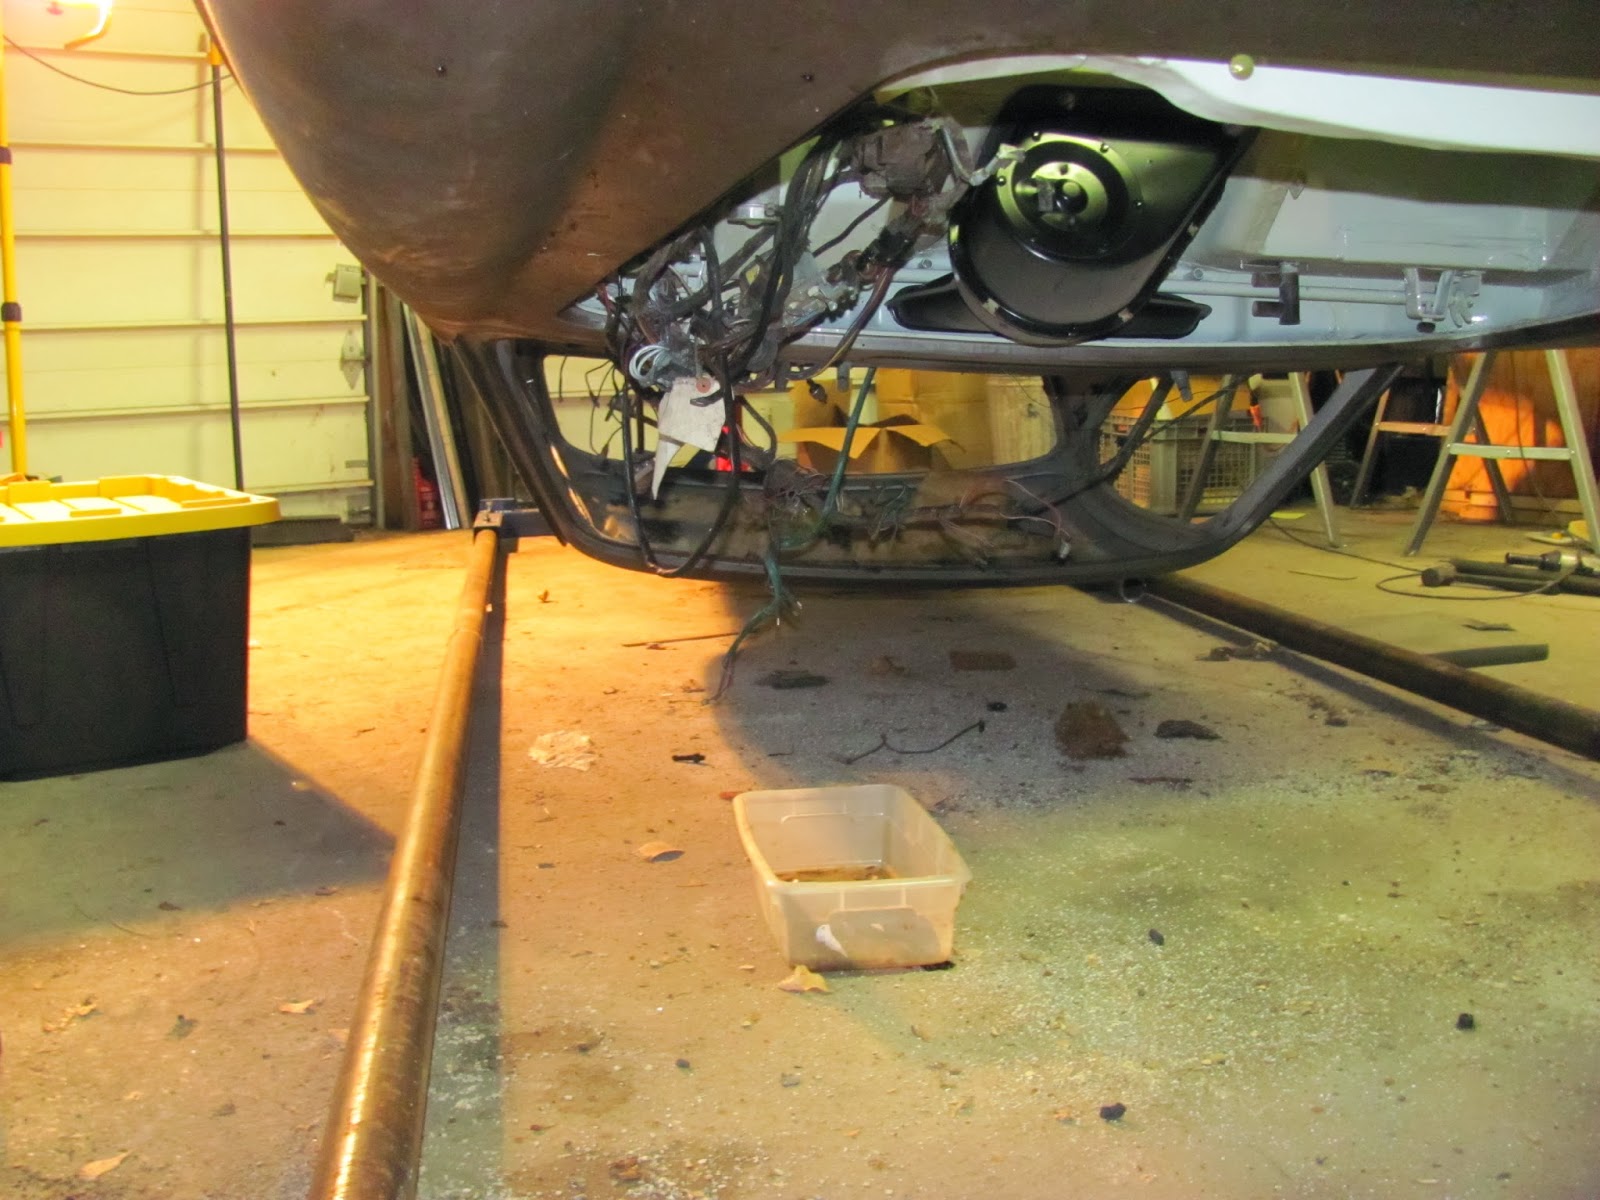
With wheels on the end by workbench we placed the other end on the car dollys as the jack got stuck in cracked concrette and slid the '67 over to it's spot. By keeping it at 90 degrees we had room for the rest of the assorted tools and stuff in the other bay.
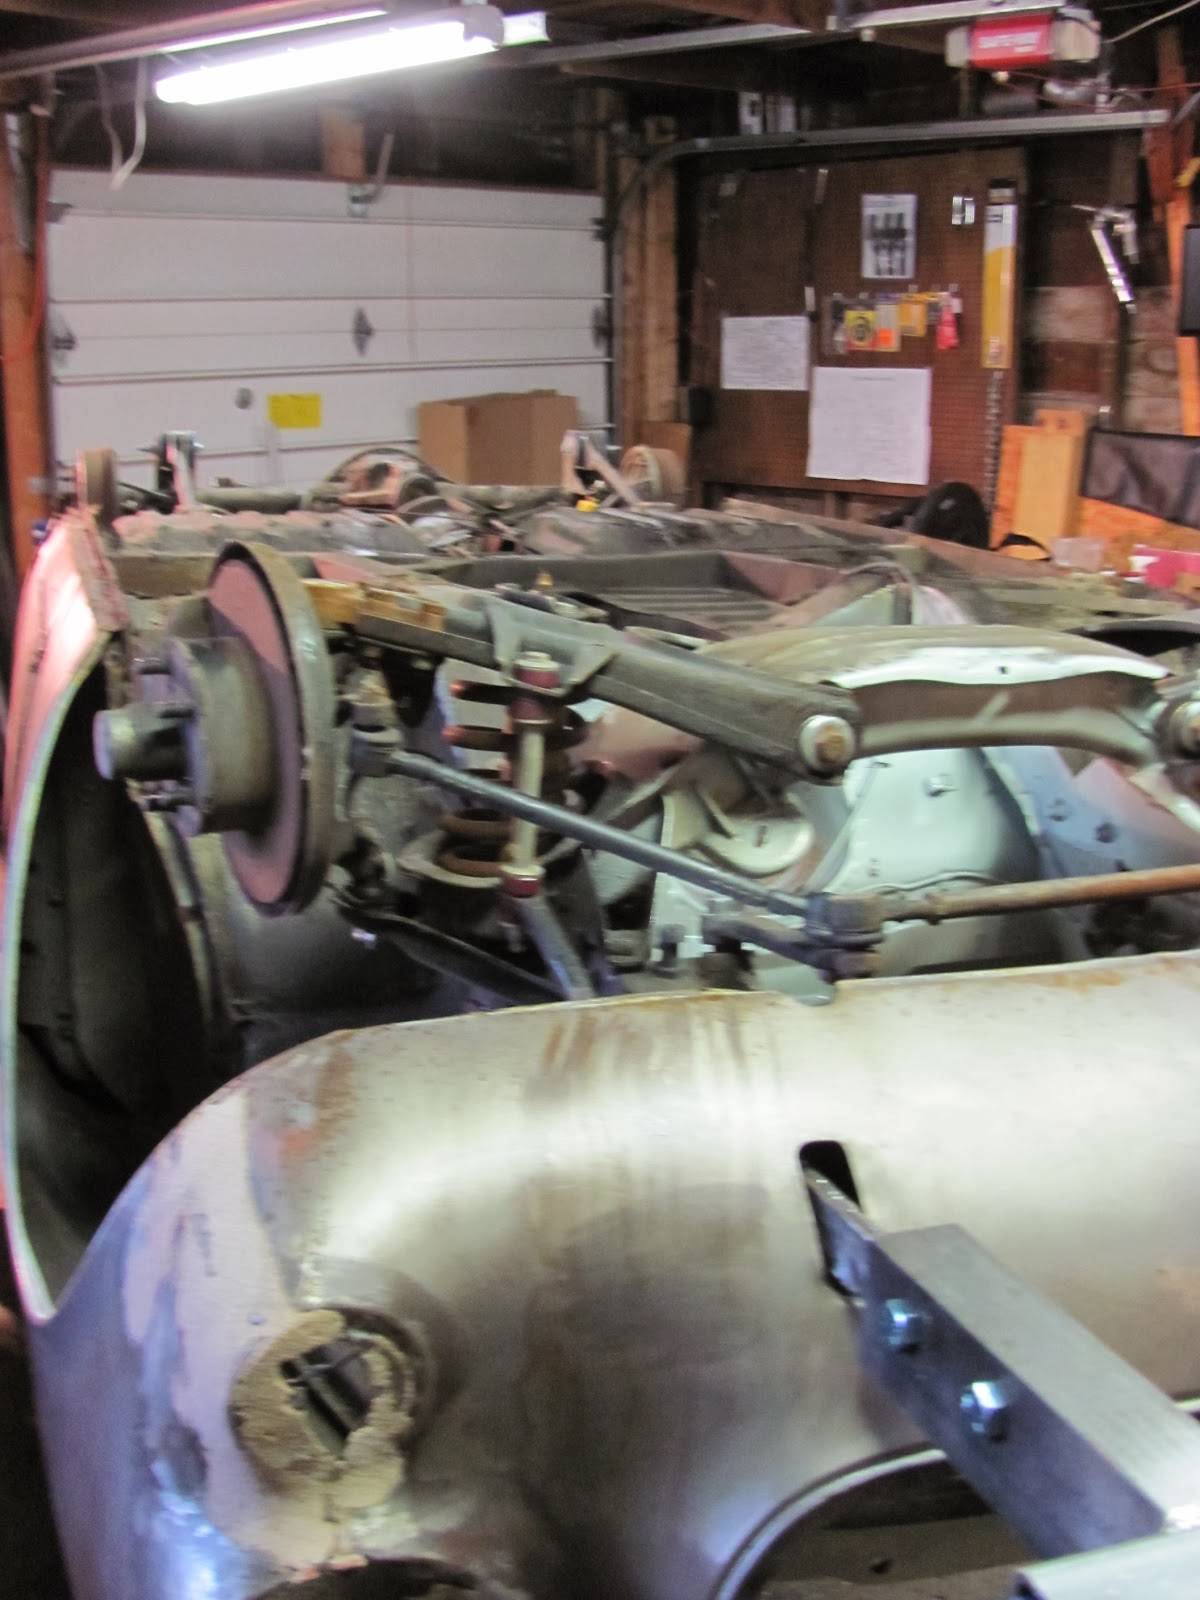
Safety bolts installed and 1800 rotated 180 degrees
After raising the end supports to install the safety bolts it was possible to rotate the car 180 degrees without the roof hitting the floor or the garage door tracks. Started cutting open the rockers and lower fenders to see what is going to need to be done.
Well we got the tires off - note to self always break lug nuts before lifting the car. It had sat so many years in the dollys I forgot to break the nuts before lifting the car.
I have run out of ballance movement but it is nearly ballanced so something may need to come off to complete the ballacing.
Need to secure or remove the dashboard to flip the car over to avoid damage to it.
The good news is the car can completely rotate within the 7' 4" joists - even under the grarge door tracks - I didn't worry much but it was a concern I thought of after I ordered the rotiserie - I would have rolled the car outside if I had to - one less thing to do.
Dad getting ready to secure the crossbars to the jig - note car sitting on 2 by 6 on wheel dollys - still needed to use the jack for the last 1/4 of an inch - should have tried to fill the old tires up but jack was faster.


