Monday, December 16, 2013

Working on PS floor


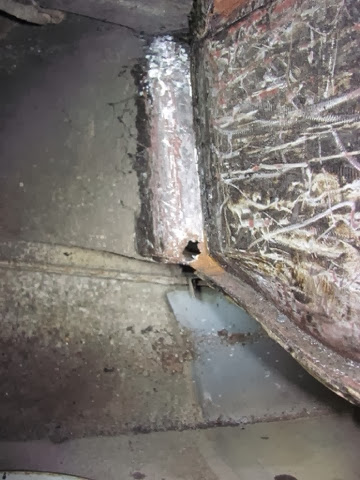
upper floor pan (kick up area) of passenger side of car seperated from inner rocker


Drilling out the spot welds on the passenger side floor and rocker


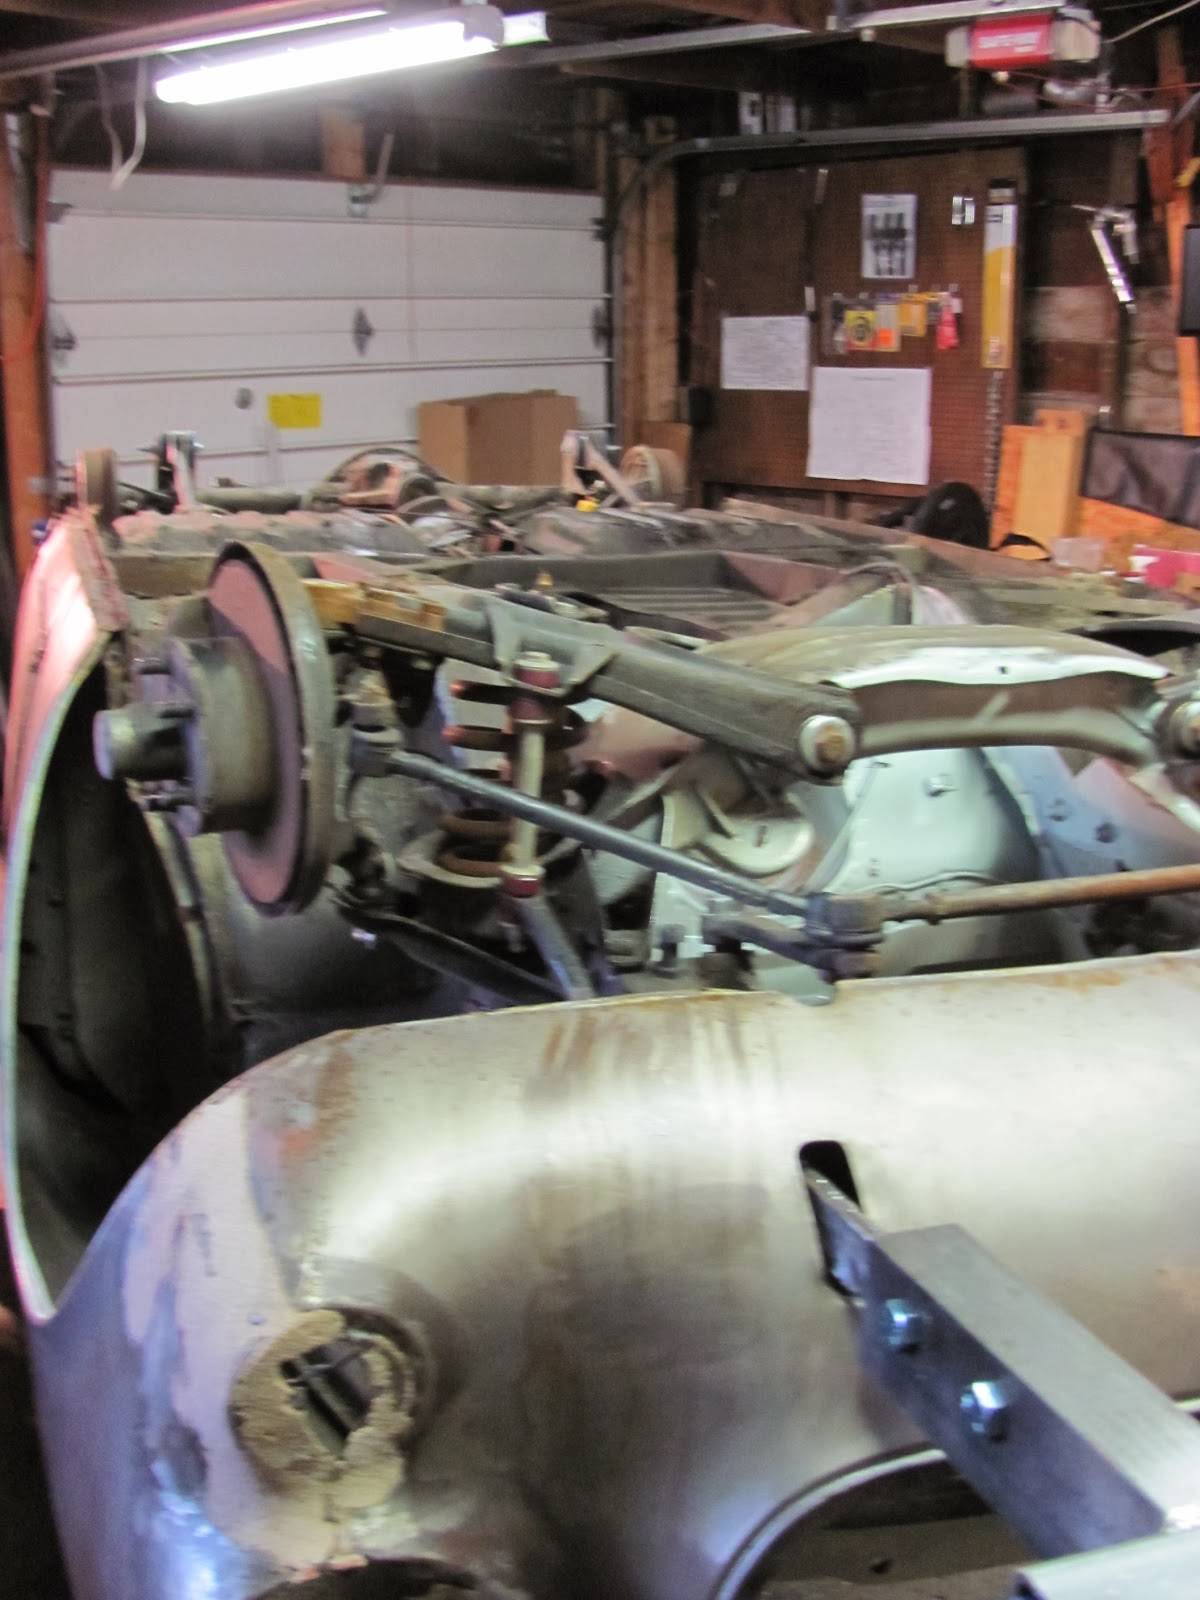
Driver side "peddle box" hole in front wheel area


Hole in passenger side - under battery box - same spot as "peddle box area" so I suspect it is more related to water accumculation than battery acid as it is on both sides and about the same size.


Sunday, December 15, 2013

Driver side floor removed - many spot welds drilled


Today's progress - driver side floor removed mostly by drilling out spot welds along transmission tunnel and frame rails.


The Harbor Freight spot weld cutter does a great job so long as it has a good centering punched hole.  I have now started to sharpen the tip as it seems to be dulling with use.  For the frame rails I drilled through the floor and cut from the inside as the welds were obscured by rust.  Having a starter hole make the cutter easier to use - but it was mainly required as the cutter is short and the drill chuck interfered with getting a straight shot at a 90 degree angle on the welds because of the frame welds.  I broke several 1/8 inch bits by drilling the holes out (part angle, part hard to drill through the welds).  I have found that just using a good solid punch point is enough to keep the spring loaded tip centered - not worth the time to drill starter holes for most weld.  Now if the area is not flat or against a cured part of the body then it can be helpful.

The floor pan will be replaced and the 3/8 holes used to plug weld the floor pan to the frame.

Also I found what had interested Maggie when removing the floor:


A cat might be a mouser but a dog will pin point where the nest is...
mouse nest in frame rail - mice got access to area through hole in floor pan - I have not stored bird seed in the garage for years so likely long gone by now. 

Friday, December 13, 2013

Almost got the ES in before it snowed

With wheels on the end by workbench we placed the other end on the car dollys as the jack got stuck in cracked concrette and slid the '67 over to it's spot.  By keeping it at 90 degrees we had room for the rest of the assorted tools and stuff in the other bay. 


Photo dump link

'67 1800S body work

Link to PICASA web album of all images from body work -  updated by EYEFI 

Wednesday, December 11, 2013

Safety bolts installed and 1800 rotated 180 degrees


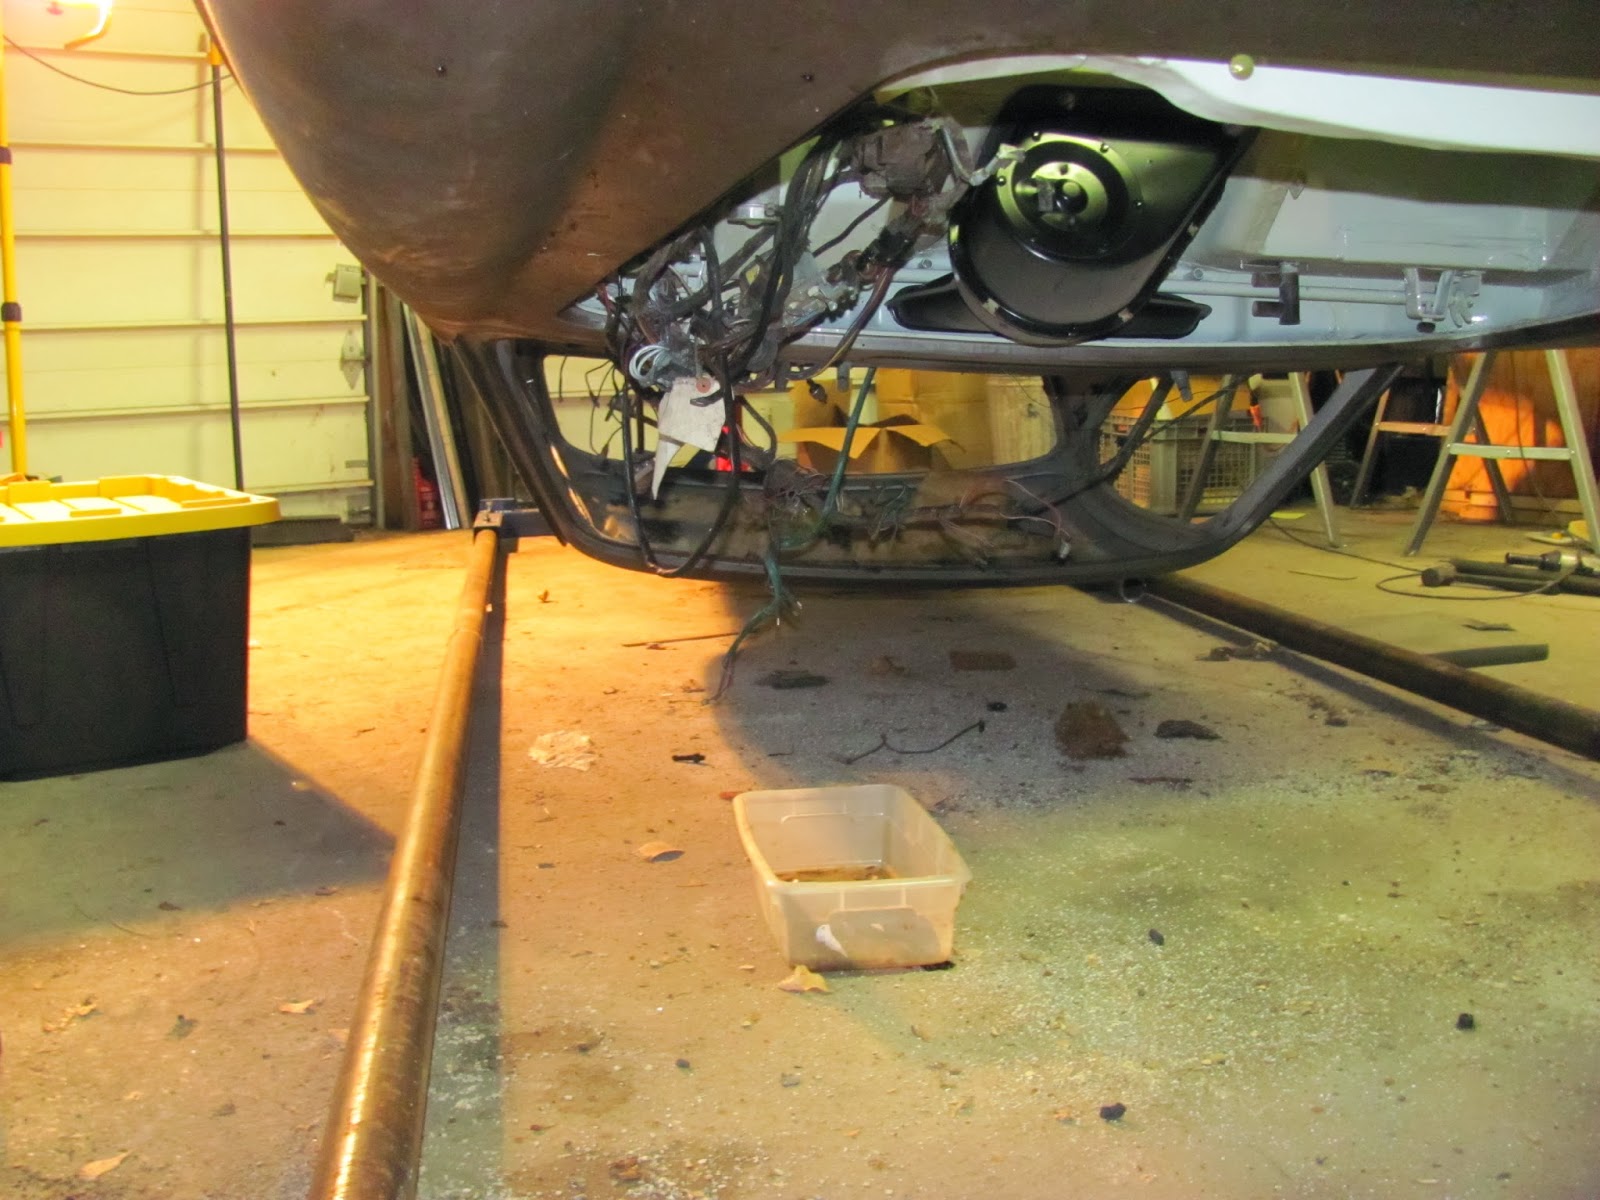
After raising the end supports to install the safety bolts it was possible to rotate the car 180 degrees without the roof hitting the floor or the garage door tracks.  Started cutting open the rockers and lower fenders to see what is going to need to be done.


Car rotated 100 degrees

Well we got the tires off - note to self always break lug nuts before lifting the car.  It had sat so many years in the dollys I forgot to break the nuts before lifting the car.

I have run out of ballance movement but it is nearly ballanced so something may need to come off to complete the ballacing.

Need to secure or remove the dashboard to flip the car over to avoid damage to it.


The good news is the car can completely rotate within the 7' 4" joists - even under the grarge door tracks - I didn't worry much but it was a concern I thought of after I ordered the rotiserie  - I would have rolled the car outside if I had to - one less thing to do.

Tuesday, December 10, 2013

Off the ground

Getting ready to lift the car


Dad getting ready to secure the crossbars to the jig - note car sitting on 2 by 6 on wheel dollys - still needed to use the jack for the last 1/4 of an inch - should have tried to fill the old tires up but jack was faster.


jig mounts mointed

Mounting the mounts to the car

After a test fit and some measurement we decided to cut the orginal jig mounts by 8 and 6 inches to shorten the overall lenght of the jig.

So hopefully I didn't shorten the brackets too much by drilling the holes too far from the edge - used the hole template backwards.

mounted to rear bumper brackets


jig brackets shortened

front brackets to mount to bumper points


5/8" bolts


Thursday, December 05, 2013

brackets getting closer


Drilled the bars yesterday but you know that old addage measure once cut twice, well selected the next size larger rather than smaller drill bit.

So I welded the larger hole closed when welding the bars together.

ready to weld, note large holes on bars by vice.


large hole filled

ground down, very low porosity, some but low on this filling.


used 0.30 solid wire on J-8


Wednesday, December 04, 2013

Making brackets

Cutting steel
Cut 4 1.5 by 1/4 14 inches long and drilling holes for 5/16 bolts - might be able to go to 3/8 but some holes already drilled
Bumper bracket, bolt holes 4 3/8" OC

4 14" by 1.5" by 1/4 bars - will weld the bars together

Sunday, November 24, 2013

bumper mounts to rotisserie

The rear mount will be straight forward, the front is going to require a bit of work.  I will either have to weld up a bracket or cut down somw larger stock to fit through the body.

Option two is to use the front bumper brackets mounted to cross bar.

Going to sleep on it and figure out what to do before picking up the steel.

Angle mount on the front of the car


had a car parked in here yesterday...

How is once you start orginizing the amount of stuff expands exponentially?  I guess I had a lot of stuff stored around the '67.    

Saturday, November 23, 2013

Unpacked and cleaning garage

I uncrated the Wirily Jig after watching the video - it a little old but it shows how to do everything - just the early 90's economy version used the old bumper jacks at each end.  This version uses a 3 ton harbor freight hydraulic cylinder.  The rest of the rotisserie is well made and made in the USA.


Friday, November 22, 2013

What I doing with my "winter break"? - I bought a big rotisserie

Again I am faced with 4 plus weeks of vacation.  I did not plan enough to take a grand trip, still might do that when this happends again.  So time to get working on that long outstanding project.  Not wanting to lay on cold concrete again I decide to put the 1800S on a rotisserie.   

Now I just need to uncrate it - there is a DVD inside along with the manual - I guess these men know most men only will read the instructions when all else fails but they may watch TV.

So after many hours looking at plans or cheap-o made in china types I went with a Made in USA Wirley Jig and if they couldn't deliver in time Rotor2000 out of Iowa was my fall back model.