
pressure surges and it had worn a hole after 14 years of use.


new part

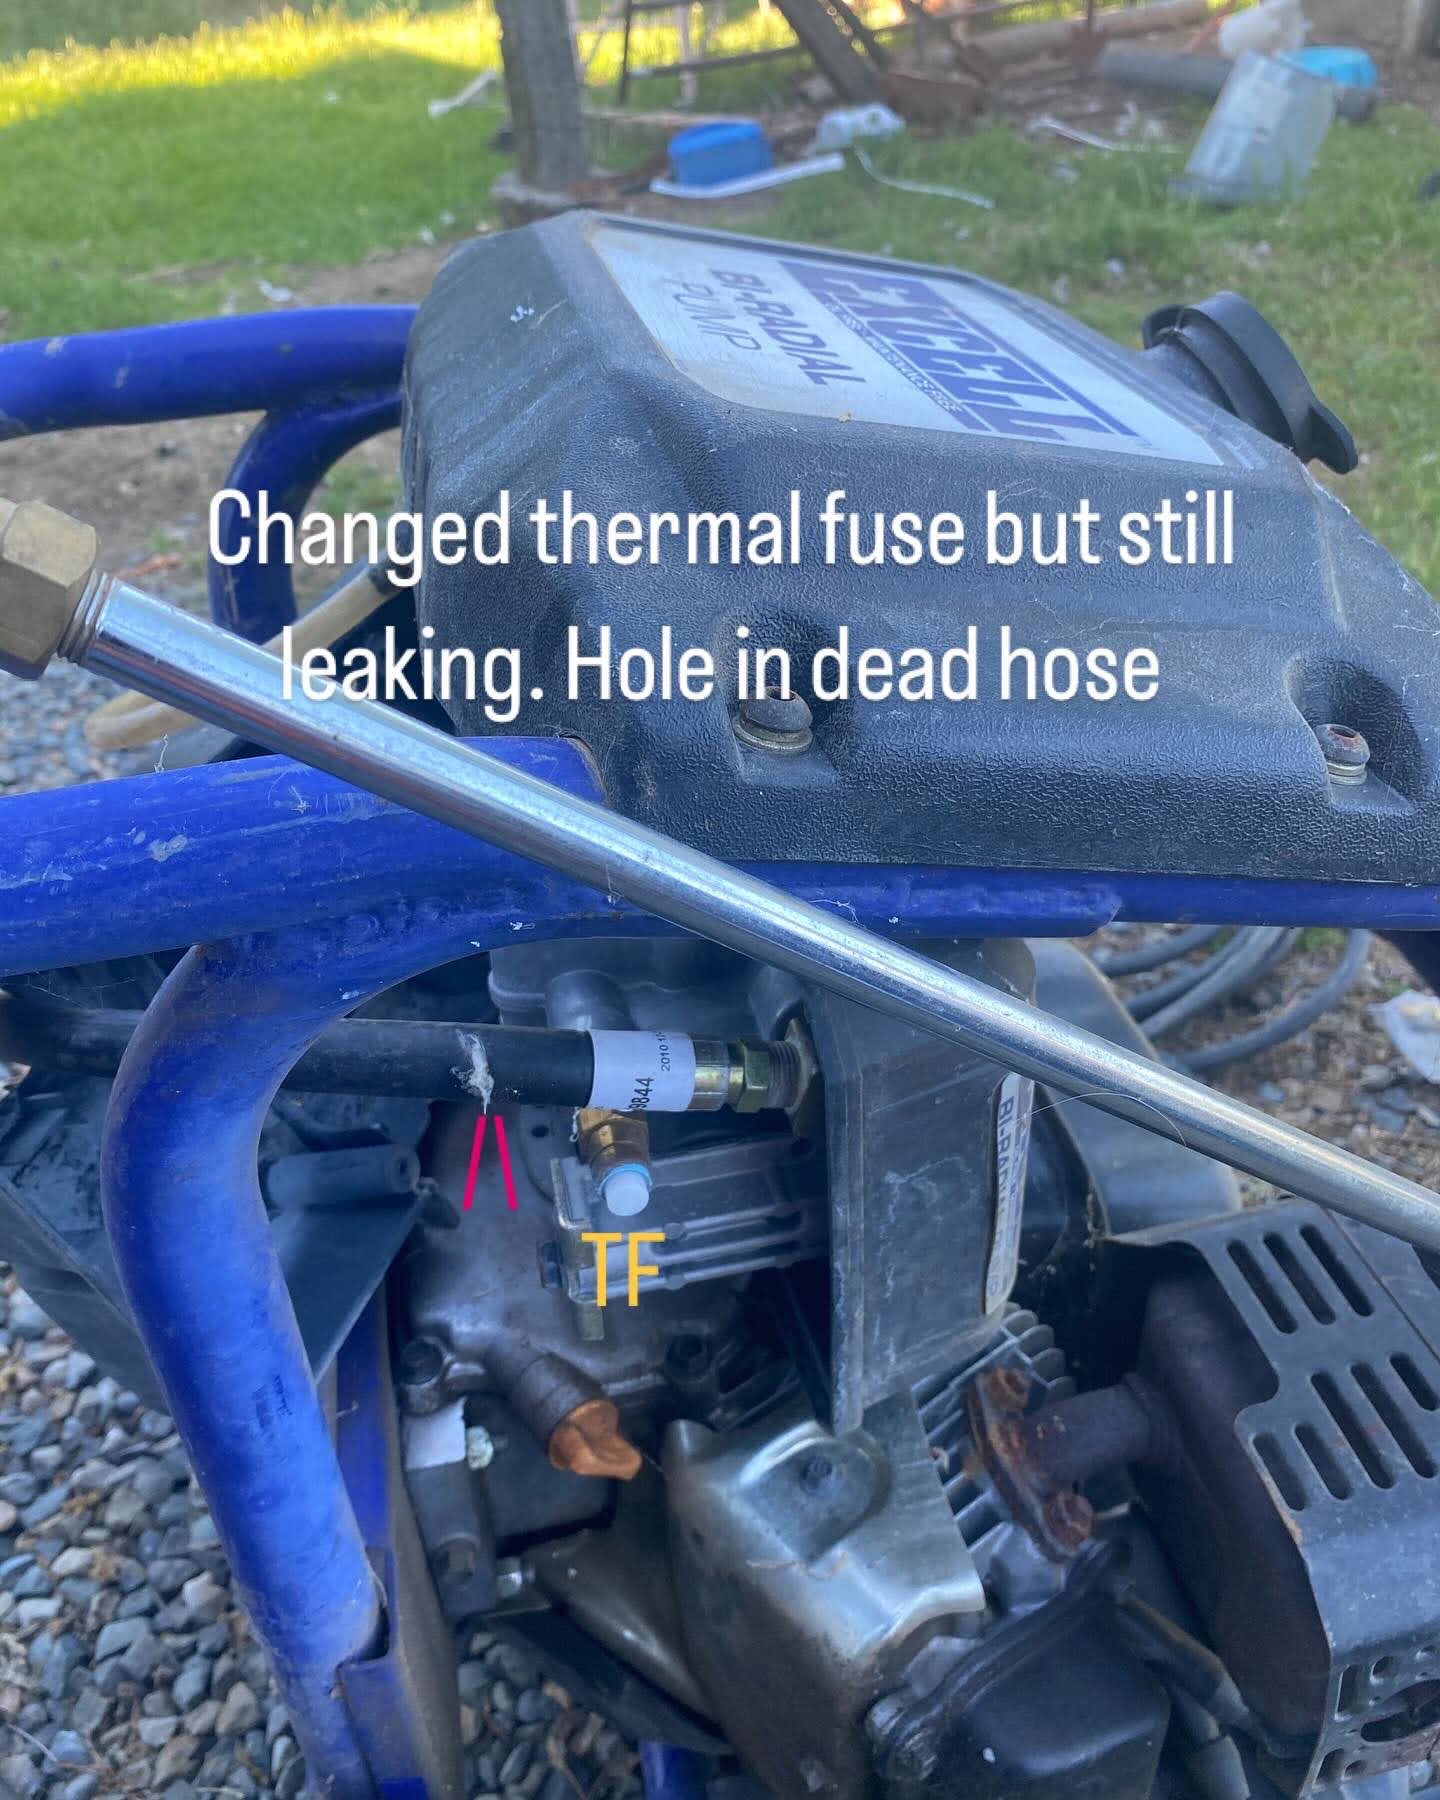
worn hole in hose against plastic pump shield

need to remove hose and outlet to remove shield to replace "dead" hose and thermal fuse

reassembled - remember to turn off fuel before laying on back


Video on the pump function.
So now that the leaks are solved I can make a update on the foam canyon pressure washer switch.


